My Birthday Dinner
I can't believe that another year has gone by! It seems that every year goes by faster and faster! It was an extra special year this year, though, as this past weekend was my birthday weekend and our first year anniversary as husband and wife. I decided to throw a little birthday dinner on Saturday and just have a nice gathering of my friends and family and relax with good food! Of course, the majority of my guests were coming from San Diego...so, it was quite a long drive for them just to come for dinner. So I decided to make this dinner extra, extra special. My menu was going to be super simple, with as many do-aheads as I can possibly make! The menu for the day consisted of assorted meats and cheese with fresh home-made French bread and assorted crackers, sausage and goat cheese stuffed mushrooms, individual chicken pot pies, served with garlic corn and roasted potatoes, side salad, creme brulee, mini raspberry cheesecakes, creamed horns, profiteroles aux chocolate, strawberry peach trifle, and cake. Everything was served with an ample supply of wine and champagne =D As you can see, the majority of food prep was astronomical!...However, I was more happy that I'm running around the week of instead of the day of! That being said..with the amount of preparations I had done for Saturday, and thinking that on Saturday all I had to do was throw things in the oven, was totally not what had happened! I still ended up running around like a chicken! :) As usual, I underestimated what I needed to get done and how long it will take to get done..oops =D But no biggie...everyone still had a great dinner!
 It took me a whole week to prep for this dinner!! I had decided that I would like a try at making my own cake. The original idea was to make a stacked pillow cake. Yes, high ambitions...*sigh*...I tried to make pillow cakes just to get an idea of whether I would be able to pull it off, but the problem was I had to bake the batter twice, since you needed two cakes of the same size in order to build one pillow. As you can see, it started to get too complicated for me, and me being of impatient nature, couldn't stand to make everything twice just to get one pillow. On top of having to ice and decorate the pillow...it really seem a lot easier in my head than actually getting down to doing it. At the last minute, I decided to make a plain round cake instead. I was just going to ice it in buttercream, too, but since I had already bought fondant for my supposed pillow cake, I decided to just go ahead and try out the fondant...not bad for a first try! I am very pleased with my cake...next time, it will be perfect ;)
 [Strawberry Peach Trifle]
 [Mini Raspberry Cheesecakes]
 [Sausage and Goat Cheese Stuffed Mushrooms]
 [Meat and Cheese Platter]
 Ahhh, the beautiful cake with the fancy candles....The girls decided to go into my bedroom to set up the candles on my cake...I must say, it looked great and I'm glad they got a picture of this before they brought it out to me! Here's the "after" picture:
 Hrmm...fancy candles they are not....poor cake...Lol..
 LOL...I think the wine must be getting to us at this point..hehee...btw, T is not holding a knife...it's one of those plastic cake knifes ;) lol...We were just being silly...But I have to say, the cake was tasty...I decided to do a coconut, chocolate, coconut layer cake! I am happy to report that the cake was still pretty moist! In fact, I had some today and it was still moist! I've got to hand it to fondant..definitely kept the cake fresh!
 [The Ladies]


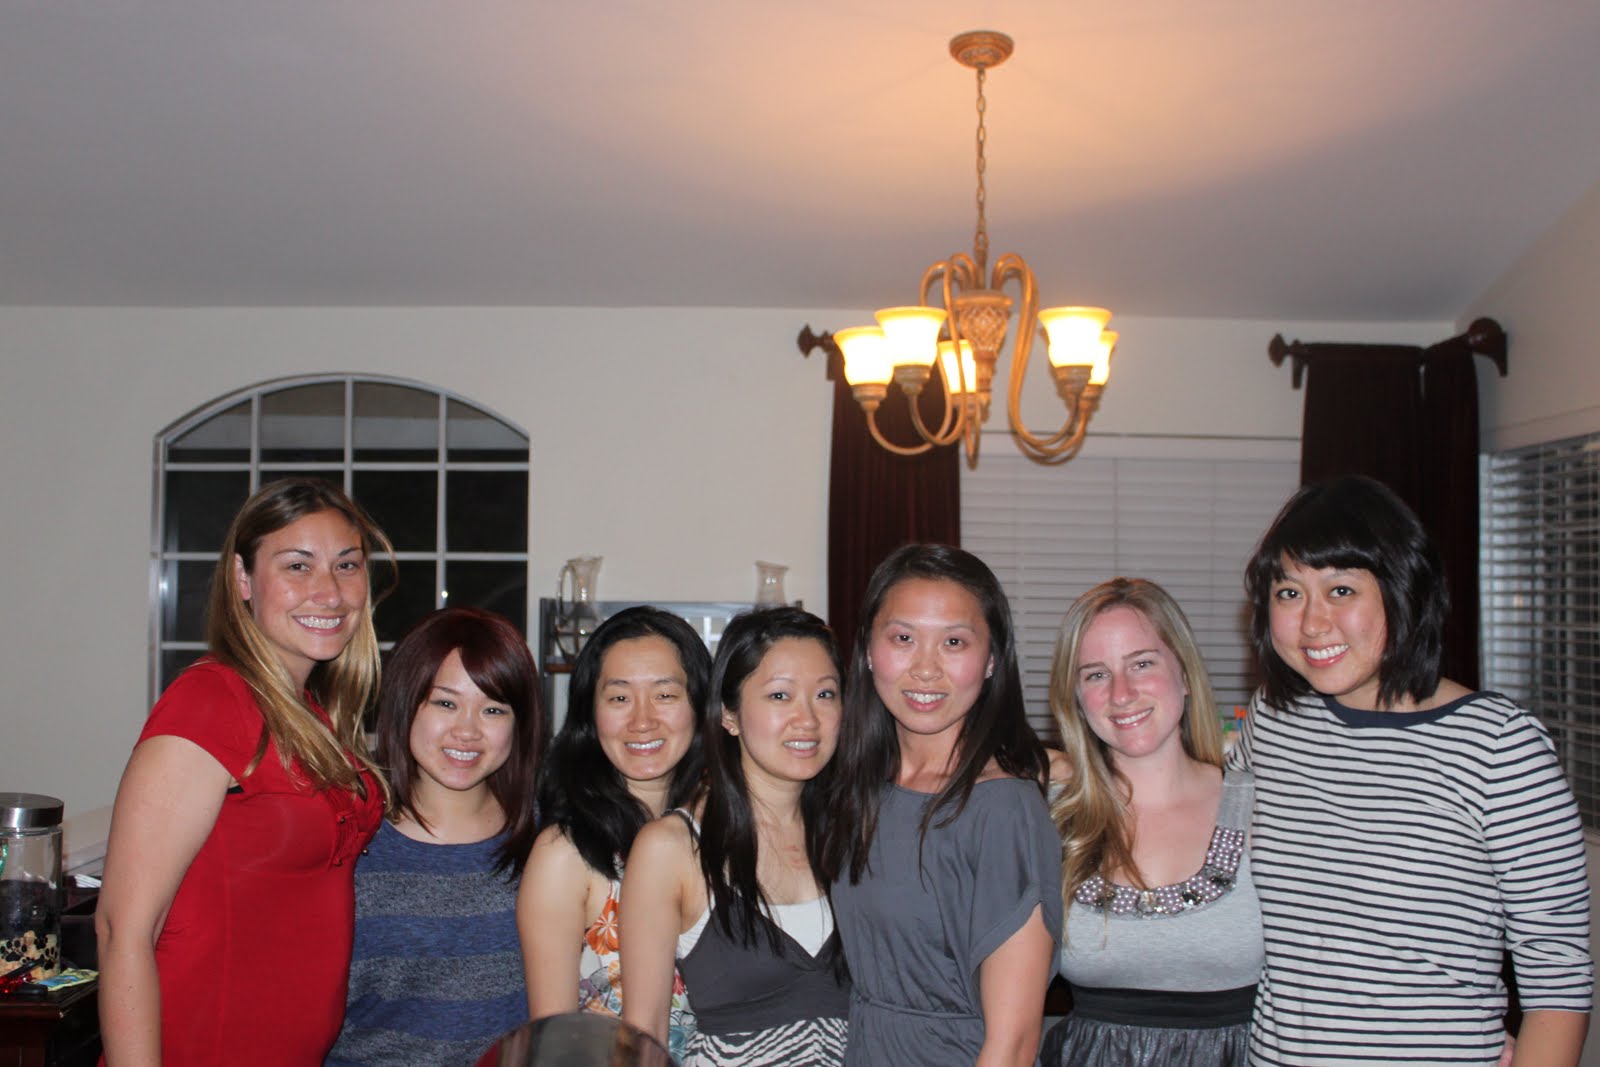 [The Ladies]
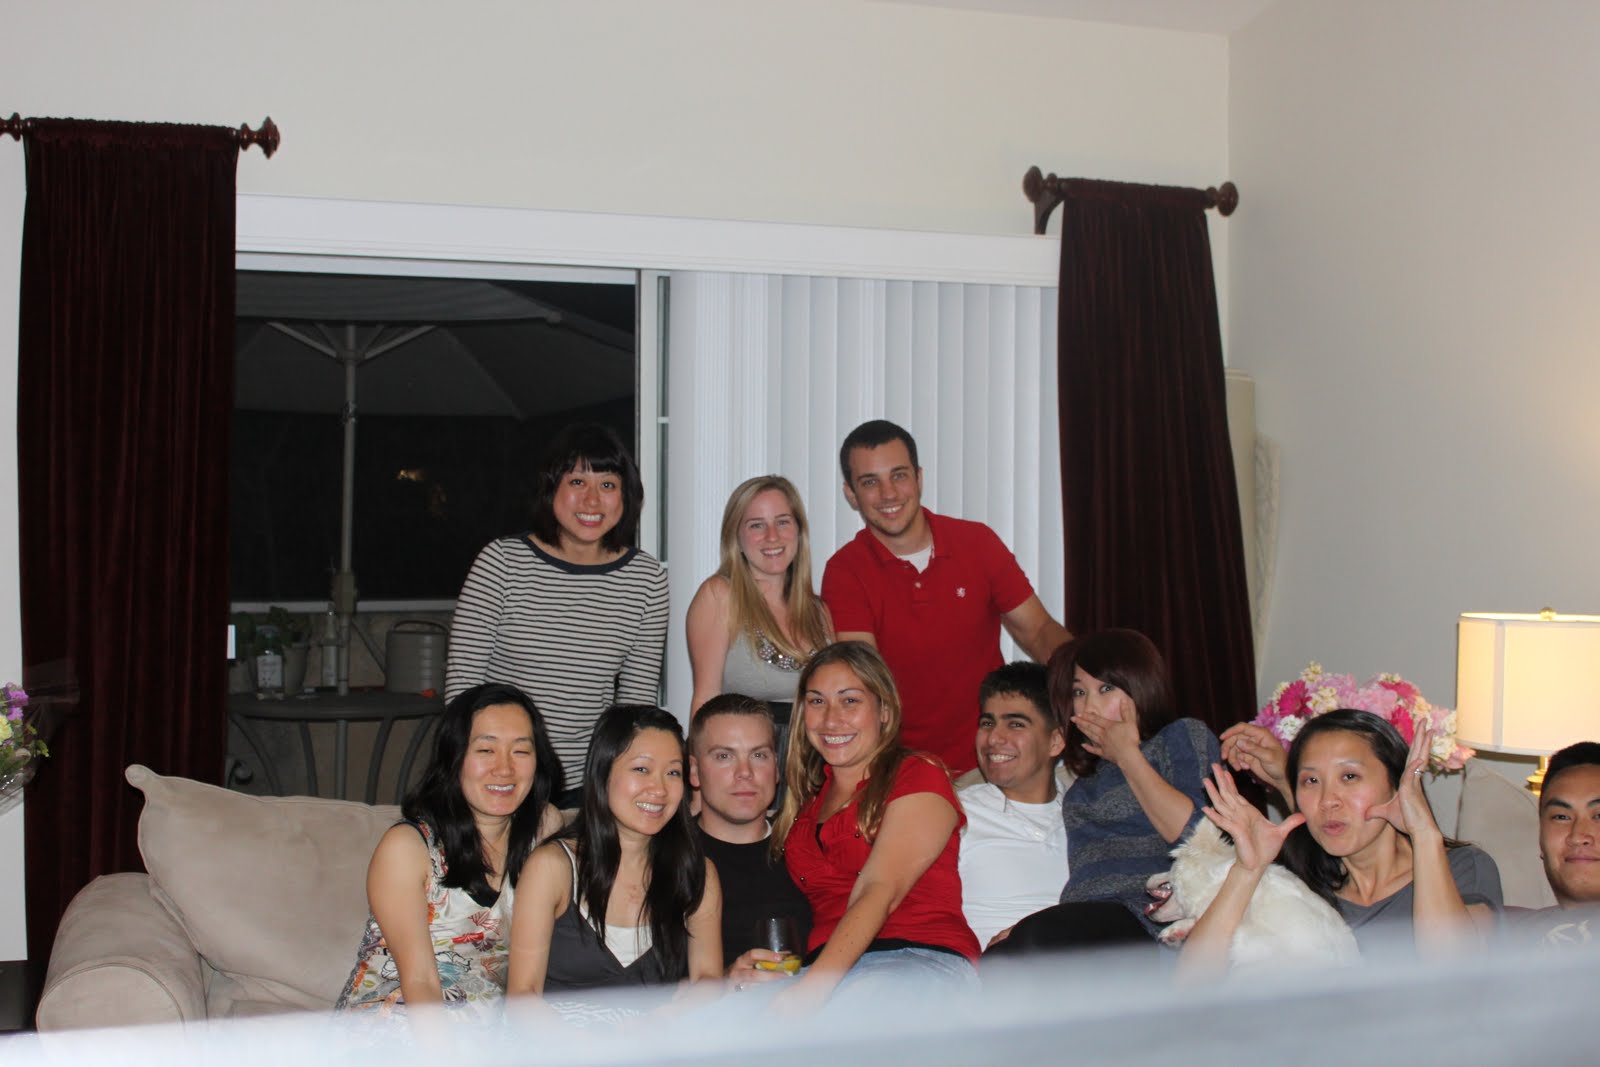
[The Whole Crew]
Once again, the alcohol must've gotten to us...(ok, so we were taking a 10 frame shot and everyone was supposed to do something different for each frame..and as you can see, only T and I actually did it!)...and what is my dog doing?! LOL..Anyways, I just want to say a BIG THANK YOU to all my fabulous friends and family who made it out!!! I know it's a super long drive...especially for those who hit a lot of LA traffic on the way here....but I hope you all had a lot of fun and enjoyed the yummy food and great atmosphere! And for those of you who didn't make it, don't forget to send a present ;) j/k...LOL..(not really) ;)
posted by Sweets for the Sweet by Linda at
11:24 PM
1 Comments
![]()


